


Archive * No. 012: A PNW Wildflower Wedding
This issue features Rhianna and Alex's Wedding and my process for the bridal floral arrangements.
SLICE OF LIFE
✦ Rhianna’s Wedding
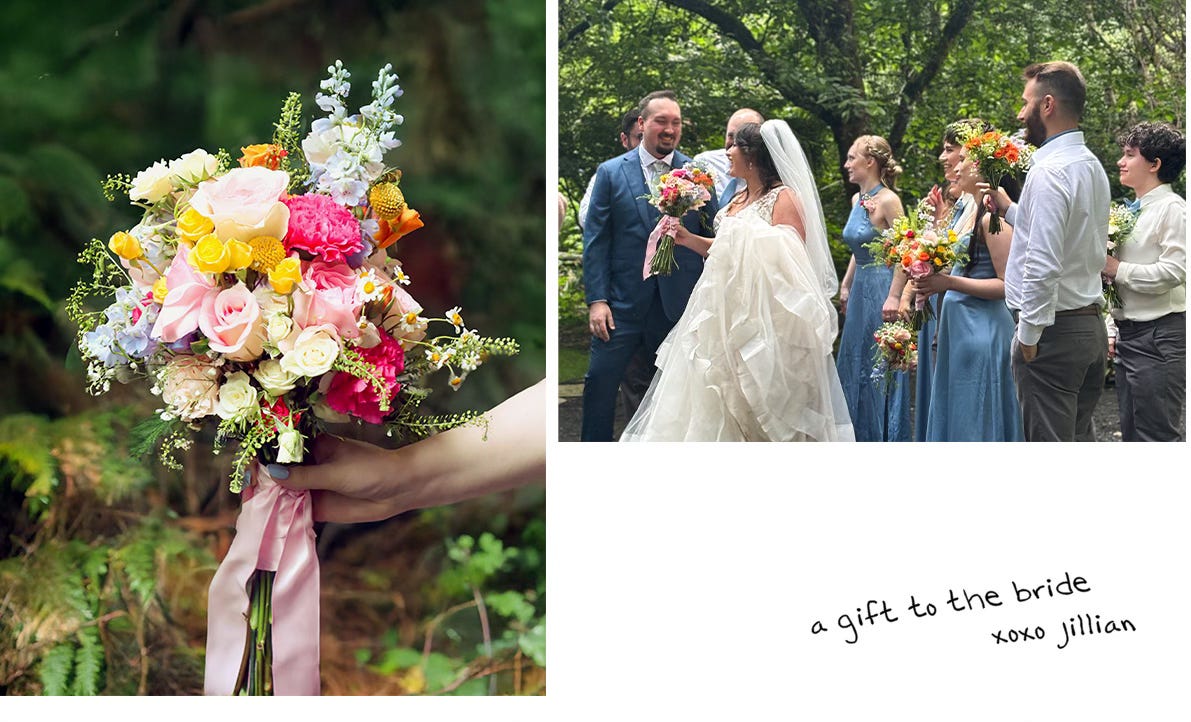
This weekend, I was maid of honor at my best friend’s wedding in Washington State. It rained, of course, but we made the best of it, and honestly I think it made everything feel even more magical. The venue wasn’t far from where we grew up and totally captured the foresty, PNW vibes of our hometown. The bridesmaids got ready in a cozy little cottage in the woods. It felt like something out of a fairytale.
The aesthetic was all her vision, but I helped bring it to life. I designed the save the dates, invitations, seating chart, name tags, menus, table numbers - AND did all the florals. She wanted the flowers to feel colorful and whimsical, a playful contrast to the greens forest backdrop. It all came together so beautifully. Here’s a little glimpse of the day.
IN THE WORKS
✦ DIY Bridal Florals
This was one of those “say yes and figure it out later” moments. Rhianna had a limited budget, so I offered to take on the DIY flowers.
My two biggest helps in this were Riley’s stepmom Charlotte, a professional florist @floweroflacosta on Instagram. (If you're in San Diego and need a florist, she’s amazing.) And Willow Crossley’s course on Create Academy - this was a lifesaver for learning how to design and build bridal bouquets.
Also, huge shout out to my mom, my husband, and my sister for helping me and letting me boss them around all day.
Rhianna ordered all the florals from a wholesaler, but when they arrived, we didn’t have enough. That day, we ran to the market and pretty much sold out Trader Joe’s to supplement the order. Charlotte always recommends Trader Joe’s for flowers, they price them the same as the flower mart and have a great selection.
To build the bouquets, we started by prepping all the stems and laying everything out. I used the spiral method to assemble them - it keeps the stems together and makes the bouquet more stable.
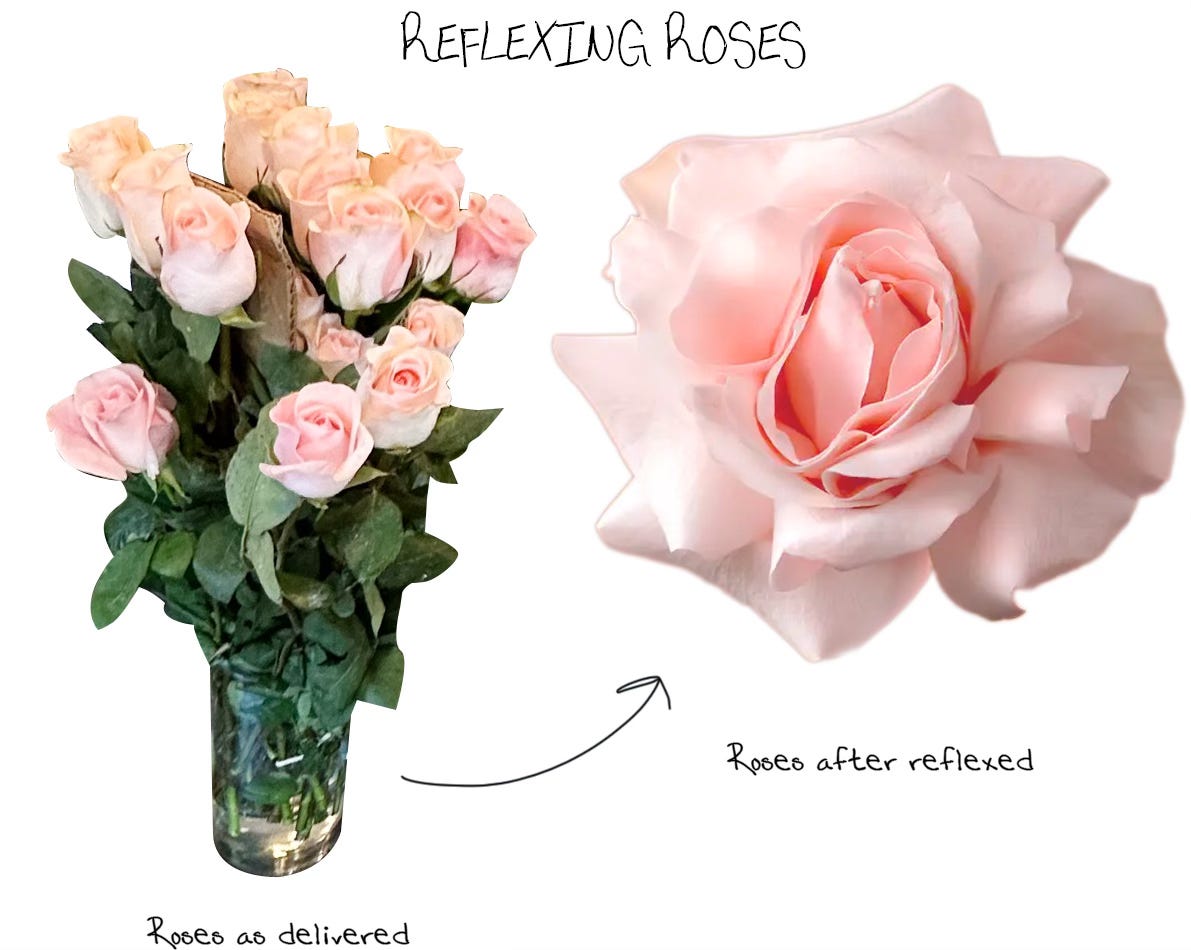
One trick we used when prepping the stems was reflexing all the roses. This gives them way more volume and makes them look more modern and high-end. It’s pretty easy to do, just takes a little time and finesse. Here’s a tutorial video for how to reflex a rose.
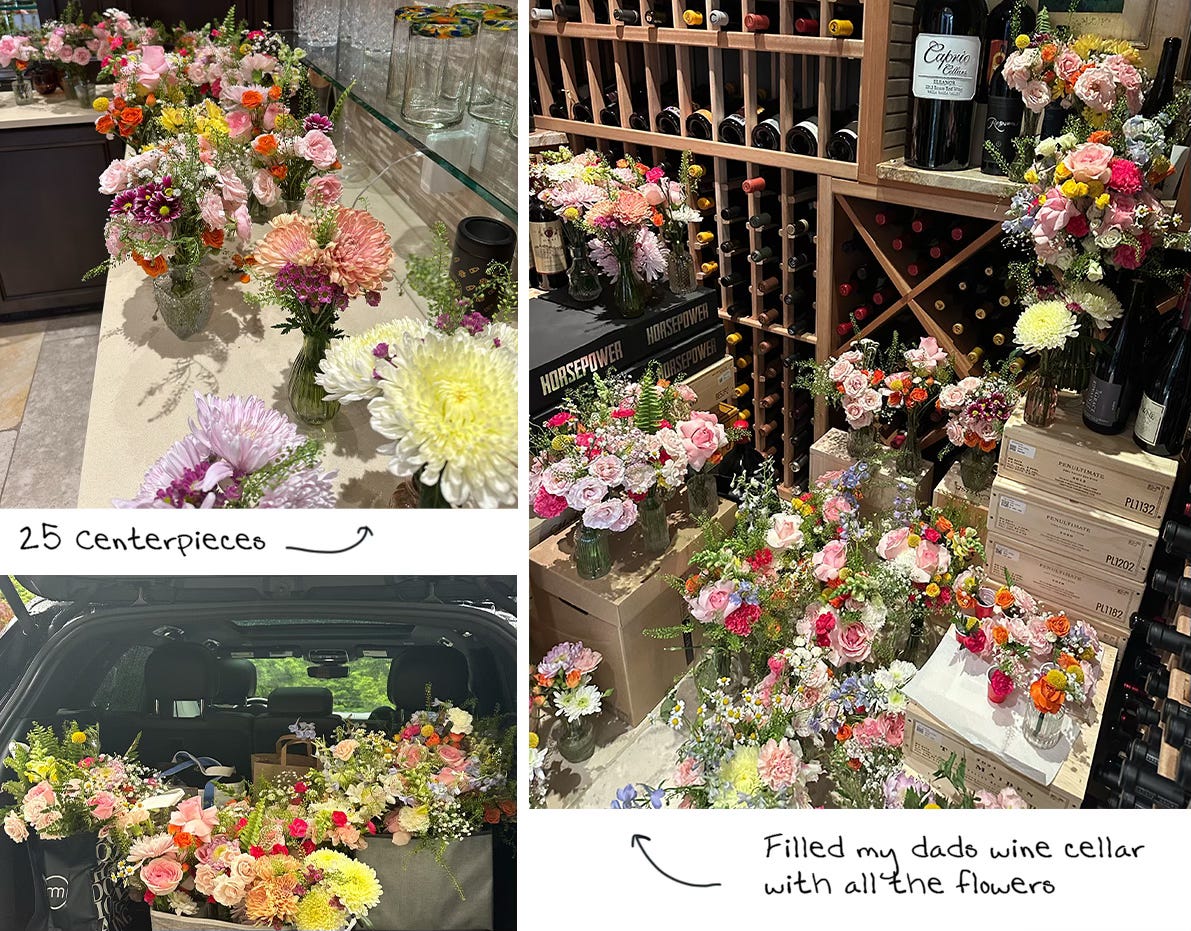
In total, we made the bridal bouquet, 8 bridesmaid bouquets, 25 centerpieces, 8 boutonnieres, and 4 corsages. It took us 17 hours (she’s lucky I love her), but I learned a lot, and it made me excited to keep playing with florals!
Wish we had more photos of the final results! Once the professional wedding photos come in, I’ll share the good ones.
NOTES TO SELF
I will never be good at spelling. Guess I was meant to be a designer. (A comment on last week’s newsletter from my Aunt Cheryl.)

Heads up!
Next week I’m heading to Europe with my sister! Somehow I’ve packed all my events and travel into June and July, so stay tuned for a few more weeks of travel content. Once that’s over, I’ll be back to regular programming!
Everything was so beautiful and perfect!! Jillian really went above and beyond with everything!
beautiful job